For an EPS shape molding factory, a few seconds saved on every cycle can translate into significantly more finished parts over a full shift. But simply shortening the timer is not process optimization — if steam time is cut too aggressively, bead fusion weakens; if cooling ends too early, parts shrink or deform after demolding; if filling is accelerated without checking venting, cavities fill unevenly. The goal is the shortest stable cycle that repeatedly produces acceptable parts, and that starts with knowing where the time is actually going. (Buying a machine and want to know what cycle time to expect before you own one? See what actually controls shape molding output.)
What Happens During an EPS Shape Molding Cycle?
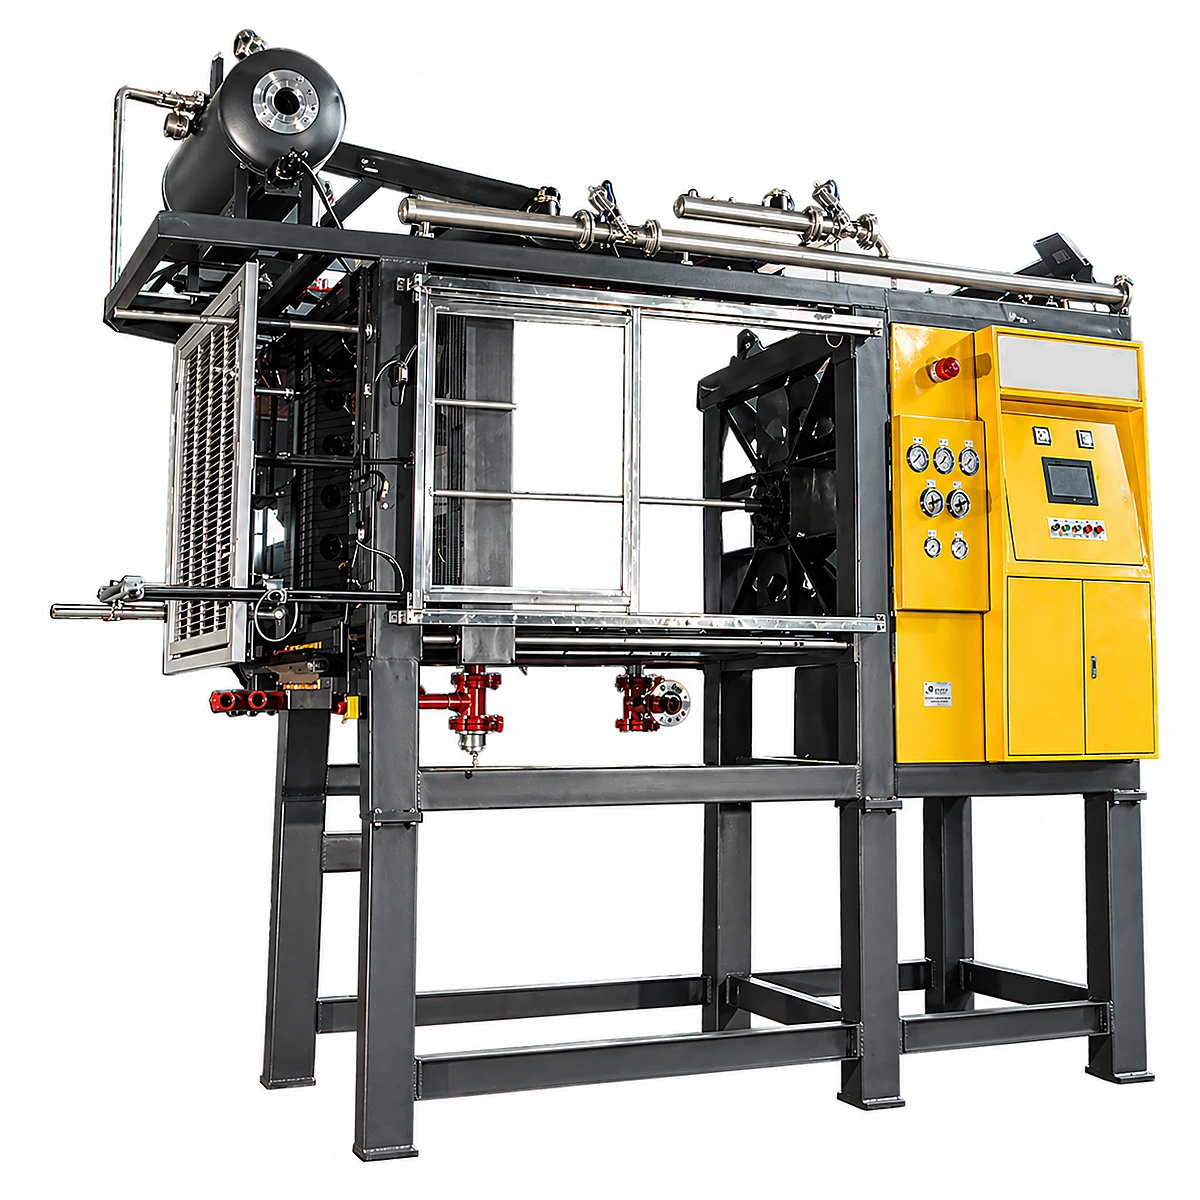
A typical EPS shape molding process runs through: mold closing → bead filling → steam heating → bead fusion → cooling → vacuum → pressure release → mold opening → ejection. The exact sequence varies by machine, mold design, and product. Modern automatic shape molding machines combine these stages through PLC-controlled recipes, storing filling, steam, cooling, and vacuum time per product — ChinaEps’s SM-1200 shape molding machine is built around this automated, vacuum-cooled, recipe-driven approach. The important point is that the machine cycle is a system: reducing one stage often just moves the problem into the next one.
Where Does the Cycle Time Go?
The total cycle breaks into five sections:
| Stage | Main Purpose | Typical Optimization Focus |
|---|---|---|
| Filling | Fill mold cavity with aged beads | Filling pressure, gun layout, venting |
| Steam | Heat and fuse beads | Steam pressure, distribution, mold design |
| Cooling | Remove heat from molded part | Vacuum, cooling water, mold channels |
| Stabilization | Reduce internal pressure before opening | Vacuum level, residual temperature |
| Ejection | Remove finished product | Mold release, ejector design, automation |
Cooling is usually the biggest constraint, because the product cannot be safely removed simply because bead fusion has finished — it must also become dimensionally stable enough to leave the mold. Vacuum cooling can materially shorten this phase compared with relying on water cooling alone, which is why the question worth asking is not “can we cut the cycle from 60 to 50 seconds?” but “which stage is preventing us from reaching 50 seconds?”
1. Optimize Bead Filling Before Increasing Filling Speed
Poor mold filling can create defects that only appear after steaming: missing corners, uneven density, soft areas, incomplete edges, different part weights, and local poor fusion. Before shortening filling time, check three things.
Fill gun position and distribution
A large mold may use several filling guns. If one delivers substantially more beads than another, the cavity packs unevenly, creating high- and low-density zones that resist steam penetration and extend cooling. Evaluate the filling system by distribution, not just total bead volume.
Filling pressure
Excessive filling pressure is not automatically better — it can compact beads near corners or opposite the filling guns, while too little pressure leaves remote sections incompletely filled. The correct value depends on product geometry, bead density, bead size, gun diameter, gun count, and mold venting.
Vent condition
Air must leave the cavity as beads enter. Insufficient venting area or blocked vents is often mistaken for low filling pressure; raising pressure to compensate can hide the real problem while creating uneven packing elsewhere. Inspect vents before increasing pneumatic pressure.
2. Steam Distribution Matters More Than Steam Pressure
The steam stage softens the bead surface so adjacent particles fuse. Increasing steam pressure can help within the correct process range, but steam still has to reach the bead bed uniformly. If one side of the mold receives steam faster than another, raising inlet pressure can over-fuse one area without fixing the under-fused one.
Watch for strong fusion near the steam inlet but weak bonding in remote sections, inconsistent surface appearance, local shrinkage, longer-than-expected heating, or a section that stays wet after demolding. Repeated defects in the same position point to mold steam distribution, not pressure.
3. Mold Vent Design Sets Your Minimum Cycle Time
Two molds on the same machine can produce very different cycle times, because the mold — not just the machine — determines how efficiently beads enter, air exits, steam reaches the bead bed, condensate leaves, cooling reaches the part, vacuum removes heat and moisture, and the finished product ejects. More vents are not automatically better: quantity, diameter, position, and distribution must match the product, or the mold suffers bead leakage, surface marks, incomplete filling, uneven steam penetration, and longer heating and cooling.
4. Check Whether Steam Supply Is the Real Limit
Sometimes the molding machine could run faster, but the factory utility system cannot keep up — especially with several machines running at once. When a second machine starts its steam stage, pressure at the first machine drops and its actual fusion time increases even though the PLC recipe has not changed. That is a utility problem, not a machine fault.
A complete steam system includes the boiler, main header, branch piping, pressure regulation, steam accumulator (if required), traps, drainage, insulation, and condensate return. Total factory steam demand should be sized for simultaneous loads from the pre-expander and every molding machine running together, not for a single machine in isolation — see the U.S. DOE Steam System Best Practices guidance for how industrial plants size and audit shared steam networks. A large boiler feeding undersized piping can still deliver poor steam performance at the molding machine itself.
5. Do Not Ignore Condensate
Steam entering cold piping and mold passages condenses. If that condensate is not drained efficiently, part of the next steam cycle has to remove the water before real heating starts, wasting both energy and time. Symptoms include slow or uneven heating, wet products, high steam consumption, unstable cycle times, and water discharge during molding. Check steam traps, pipe slope, drain valves, mold drainage, insulation, and condensate return before adjusting the PLC timer.
6. Cooling Is Often the Best Place to Find Savings
Once beads have fused, the molded part still holds heat and internal pressure. Opening the mold too early causes expansion after demolding, shrinkage, warping, cracks, and dimensional instability — cooling is part of the product-forming process, not dead time.
Water cooling effectiveness depends on water temperature, flow rate, channel condition, mold design, product thickness, and product density. If cooling water gradually warms up during a shift, cycle time can quietly creep up with it — monitor actual water conditions, not just the programmed cooling time.
Why vacuum cooling can increase output
Vacuum cooling removes residual heat and moisture by lowering pressure so moisture evaporates at a lower temperature, pulling heat out of the foam as it does. This can shorten the time needed before a part is stable enough to demold, which is why ChinaEps builds vacuum cooling into the SM-1200 and pairs it with the ES automatic silo control system for recipe-level repeatability. But a vacuum pump does not guarantee fast production by itself — the system must reach and hold the required vacuum level. Check for leaks, worn seals, blocked filters, an undersized pump, water entering the vacuum line, damaged valves, poor mold sealing, and excessive piping resistance. When vacuum performance degrades, operators often compensate by adding cooling time; the machine keeps running, but output quietly falls unless vacuum level is monitored directly.
7. Product Thickness and Density Change the Cycle
A thin protective packaging insert with uniform wall thickness and a thick insulated box with deep sections and reinforced corners should not run the same recipe, even at similar bead density — the thicker part needs more time for filling, steam penetration, heat removal, and pressure stabilization. Bead density adds another variable: higher-density parts contain more material to heat and cool, which affects steam demand, heating time, cooling requirement, and final part weight. Machine capacity should be calculated from the actual product mix, not from the fastest mold tested during machine acceptance.
8. Bead Aging and Raw Material Grade
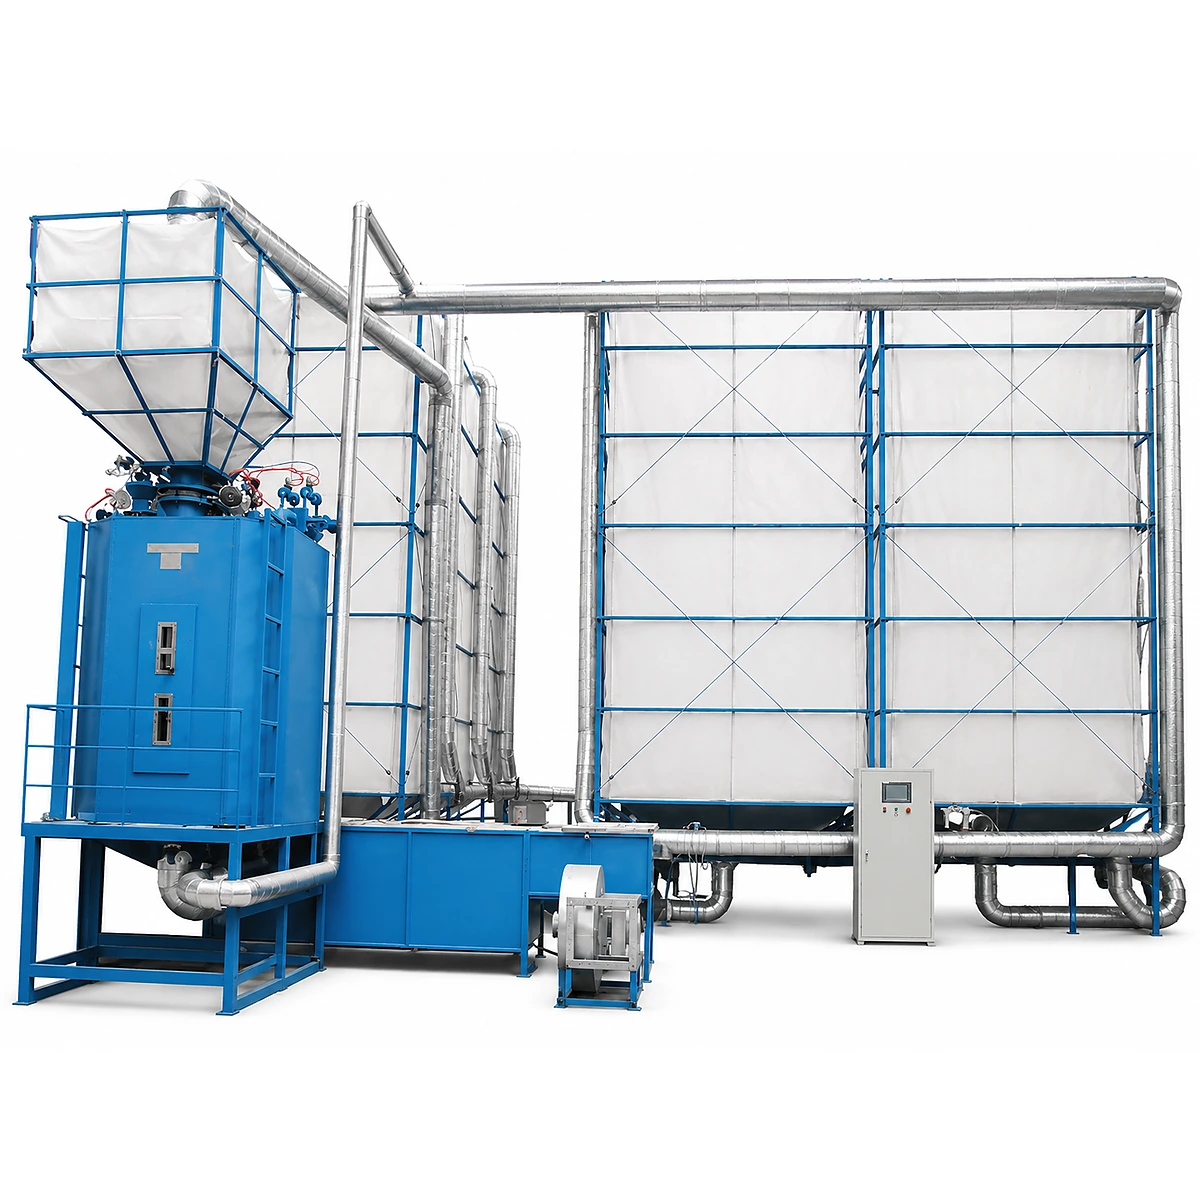
Pre-expanded EPS beads need conditioning time before molding so internal pressure and moisture stabilize; beads that reach the mold under-conditioned can show unstable filling behavior, poor fusion, increased moisture, and inconsistent part weight, which pushes cycle problems back to the pre-expansion and silo stage hours earlier. Raw material grade matters too — per ASTM C578, expandable polystyrene is classified by type and density, and fast-cycling grades can genuinely shorten molding time, but only once steam, vacuum, cooling, and bead preparation are already under control. Buying faster material will not remove a steam-pressure or vacuum bottleneck that is already limiting the line — see our fast-cycling EPS beads ROI guide for when the material switch actually pays back.
Measure Actual Cycle Time, Not Just the PLC Setting
A PLC reading “cycle = 55 seconds” does not mean one part comes out every 55 seconds. Real production also includes operator delays, product removal, mold cleaning, bead supply interruptions, machine waiting, utility pressure recovery, minor alarms, inspection, and mold adjustment. If a shift produces fewer parts than expected, time the entire loop — mold close to next mold close — not just the programmed molding stage.
Theoretical vs. actual output
Theoretical hourly output = 3,600 ÷ cycle time (seconds) × cavities per mold. A 4-cavity mold running a complete 60-second cycle gives 3,600 ÷ 60 × 4 = 240 pieces/hour — theoretical. Actual output has to subtract stops, mold cleaning, material supply gaps, breaks, changeovers, quality checks, and maintenance, which is why buying a machine on a supplier’s minimum cycle-time figure alone can be misleading. Ask for the expected cycle with your actual product, density, and mold configuration.
Why a shorter cycle can reduce real output
| Item | Recipe A | Recipe B |
|---|---|---|
| Cycle time | 60 sec | 52 sec |
| Theoretical output | Lower | Higher |
| Reject rate | Low | High |
| Post-mold shrinkage | Stable | Frequent |
| Rework | Low | High |
Recipe B looks better on the machine timer alone. But if operators spend extra time sorting warped parts and the reject rate climbs, sellable output can actually fall. The KPI that matters is good parts per hour, not cycles per hour.
A Controlled Way to Optimize the Cycle
- Establish a baseline. Record product, mold, cavities, EPS grade, bead density, aging time, filling/steam/cooling/vacuum time, total cycle, part weight, reject rate, and actual pieces/hour. Without this, you cannot tell whether a change helped.
- Identify the longest stage. Example: fill+close 12s, steam 15s, cooling 24s, ejection 9s = 60s total. Cutting filling from 12 to 10 seconds saves two seconds; improving cooling from 24 to 18 seconds saves six. Attack the largest controllable bottleneck first.
- Find out why that stage is long — for steam, check pressure, pipe sizing, condensate, mold venting, mold temperature, and valve response; for cooling, check vacuum performance, cooling-water temperature, water flow, mold channels, product geometry, and bead density. Remove the reason the timer has to be long instead of just shortening it.
- Change one parameter at a time. Do not simultaneously raise steam pressure, cut cooling time, raise vacuum, change bead density, and change filling pressure — if the next part improves, you will not know which change did it. Change, test, inspect, record, decide.
- Inspect after full demolding — dimensions, weight, surface fusion, corner filling, shrinkage, deformation, cracking, moisture, and bead bonding. Some cycle-time problems only show up after the part has sat in storage.
Common Mistakes When Trying to Increase EPS Output
- Increasing steam pressure first — more pressure does not correct poor distribution.
- Cutting cooling until the part can barely be ejected — successful ejection does not mean dimensional stability.
- Copying one recipe to every mold — different products need different settings.
- Ignoring the boiler and utility system — the molding machine cannot exceed the steam, air, water, and vacuum capacity feeding it (see our boiler sizing guide for how to size shared steam demand).
- Looking only at machine cycle time — downtime, rejects, and handling all affect real output.
- Assuming a new machine automatically fixes a process problem — an advanced shape molding machine still needs suitable molds, utilities, raw materials, and process settings.
When to Consider Upgrading the Machine
Process optimization should come first, but equipment limitations eventually become real. An upgrade is worth evaluating when an older shape molding machine shows no effective vacuum cooling, slow valve response, poor steam control, frequent pressure instability, limited recipe storage, high water or steam consumption, long mechanical opening/closing time, repeated seal leakage, poor filling control, or frequent unplanned downtime. At that point, repeatedly nudging PLC timers stops being economical. See our EPS shape molding machine buyer’s guide for spec comparisons by product type.
What to Send Before Selecting a Shape Molding Machine
Do not request a machine with only “I need an EPS shape molding machine.” Prepare: finished product photos, product drawing, dimensions, weight, target EPS density, raw-material grade, cavities per mold, required pieces per hour and per day, number of product models, existing mold dimensions (if any), available boiler capacity, steam pressure, cooling-water system, air-compressor capacity, workshop size, working hours per shift, and shifts per day. With this, a supplier can evaluate whether the required capacity should come from a larger mold, more cavities, a faster cycle, multiple machines, better vacuum cooling, a larger utility system, or a combination — the same disciplined approach ISO 9001:2000-certified manufacturers apply to process control documentation under a quality management system.
FAQ
What is a normal EPS shape molding cycle time?
It depends on product thickness, density, and mold vent design — thin packaging inserts can run well under 60 seconds per cycle, while thick insulated parts with deep sections often run longer. There is no single universal number; it should be measured against your specific product, mold, and density, not copied from another factory’s recipe.
Does vacuum cooling always shorten the cycle?
Only if the vacuum system can actually reach and hold the required vacuum level. A vacuum pump with leaks, worn seals, a blocked filter, or excessive piping resistance will not deliver the expected cooling reduction, and operators often mask the shortfall by adding cooling time instead of servicing the vacuum system.
Why does the same recipe run slower when other machines are steaming?
Shared steam demand. When a second machine enters its steam stage, header pressure drops and the first machine’s actual fusion time increases even though its PLC recipe has not changed — this points to an undersized steam system, not a machine fault.
Should every product use the same cycle recipe?
No. Product thickness, density, and mold geometry all change filling, steam penetration, and cooling requirements. Using a thin part’s short recipe on a thick part to hit the same pieces-per-hour target usually raises rejects instead of raising real output.
Reducing EPS shape molding cycle time depends on the whole chain — raw beads, pre-expansion, aging, filling, steam distribution, fusion, cooling, vacuum, and ejection. Measure the result in good finished parts per hour, not the shortest machine cycle. Send ChinaEps your product drawing, EPS density, target output, mold requirements, and available factory utilities, and we will configure the machine, mold, steam system, vacuum system, and upstream bead preparation around the output you actually need on our SM-1200 shape molding machine page.